
Step 1 — Create the suite
SCREENSHOT
- Click Suites in the left navigation panel.
- Click + New Suite in the top right.
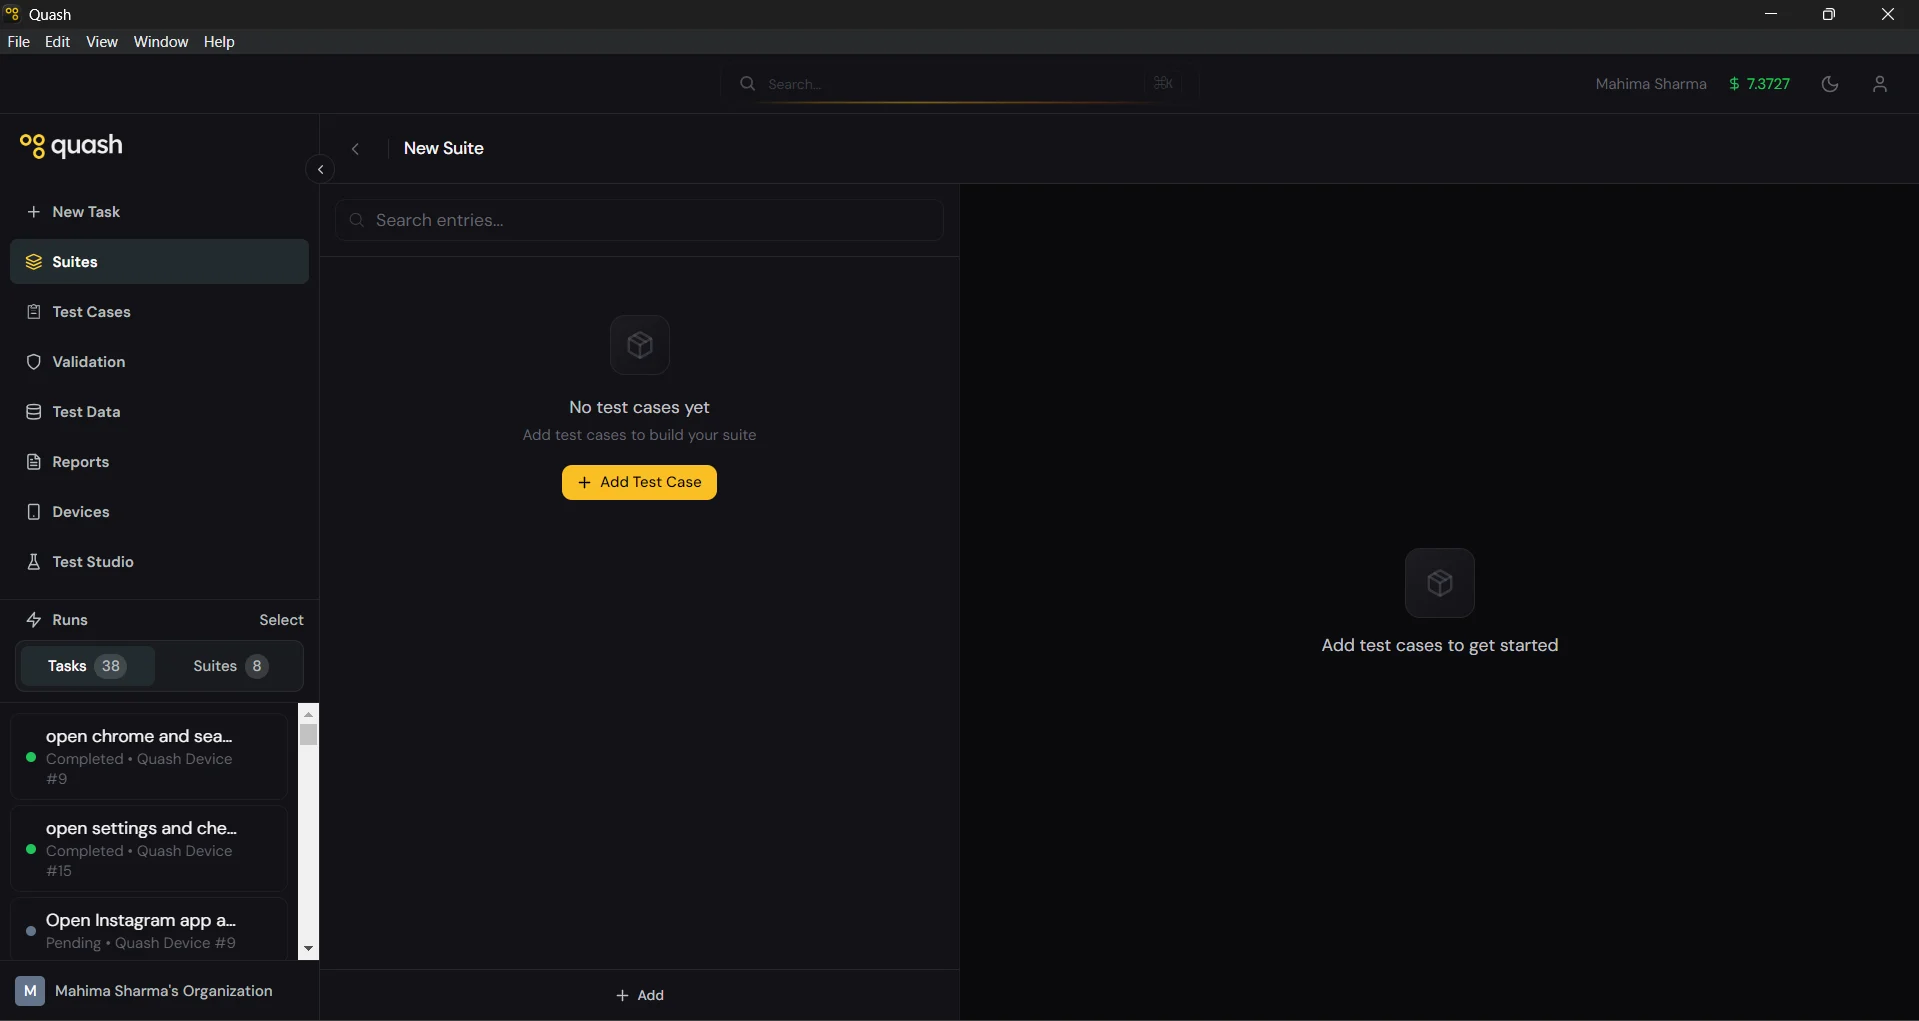
- Click the name field at the top of the new suite and give it a descriptive name.
Step 2 — Add test cases
Click Import Test Cases in the center of the screen. The Add Test Cases modal opens with two tabs.From your library (recommended)
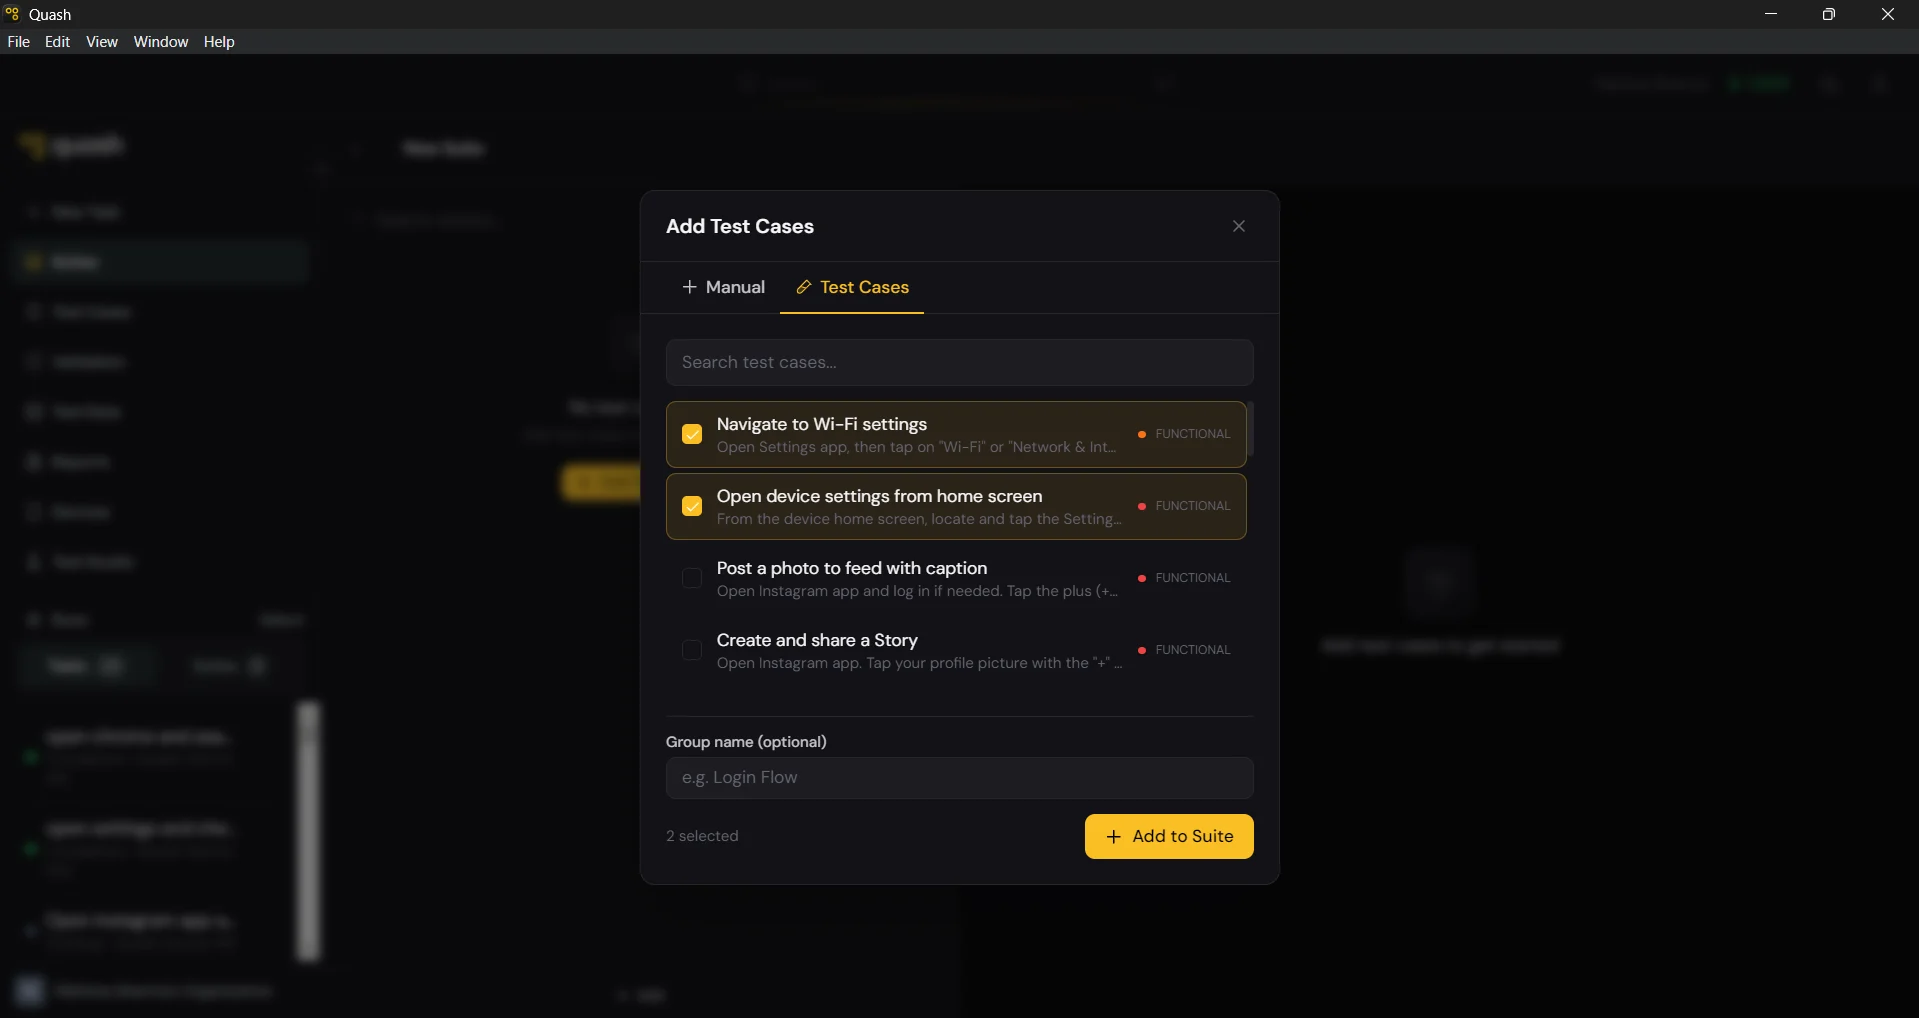
- Click the Test Cases tab.
- Search by name, or filter by priority, type, or tag.
- Check the boxes next to the cases you want.
- Click + Add to Suite.
Write a new one on the spot
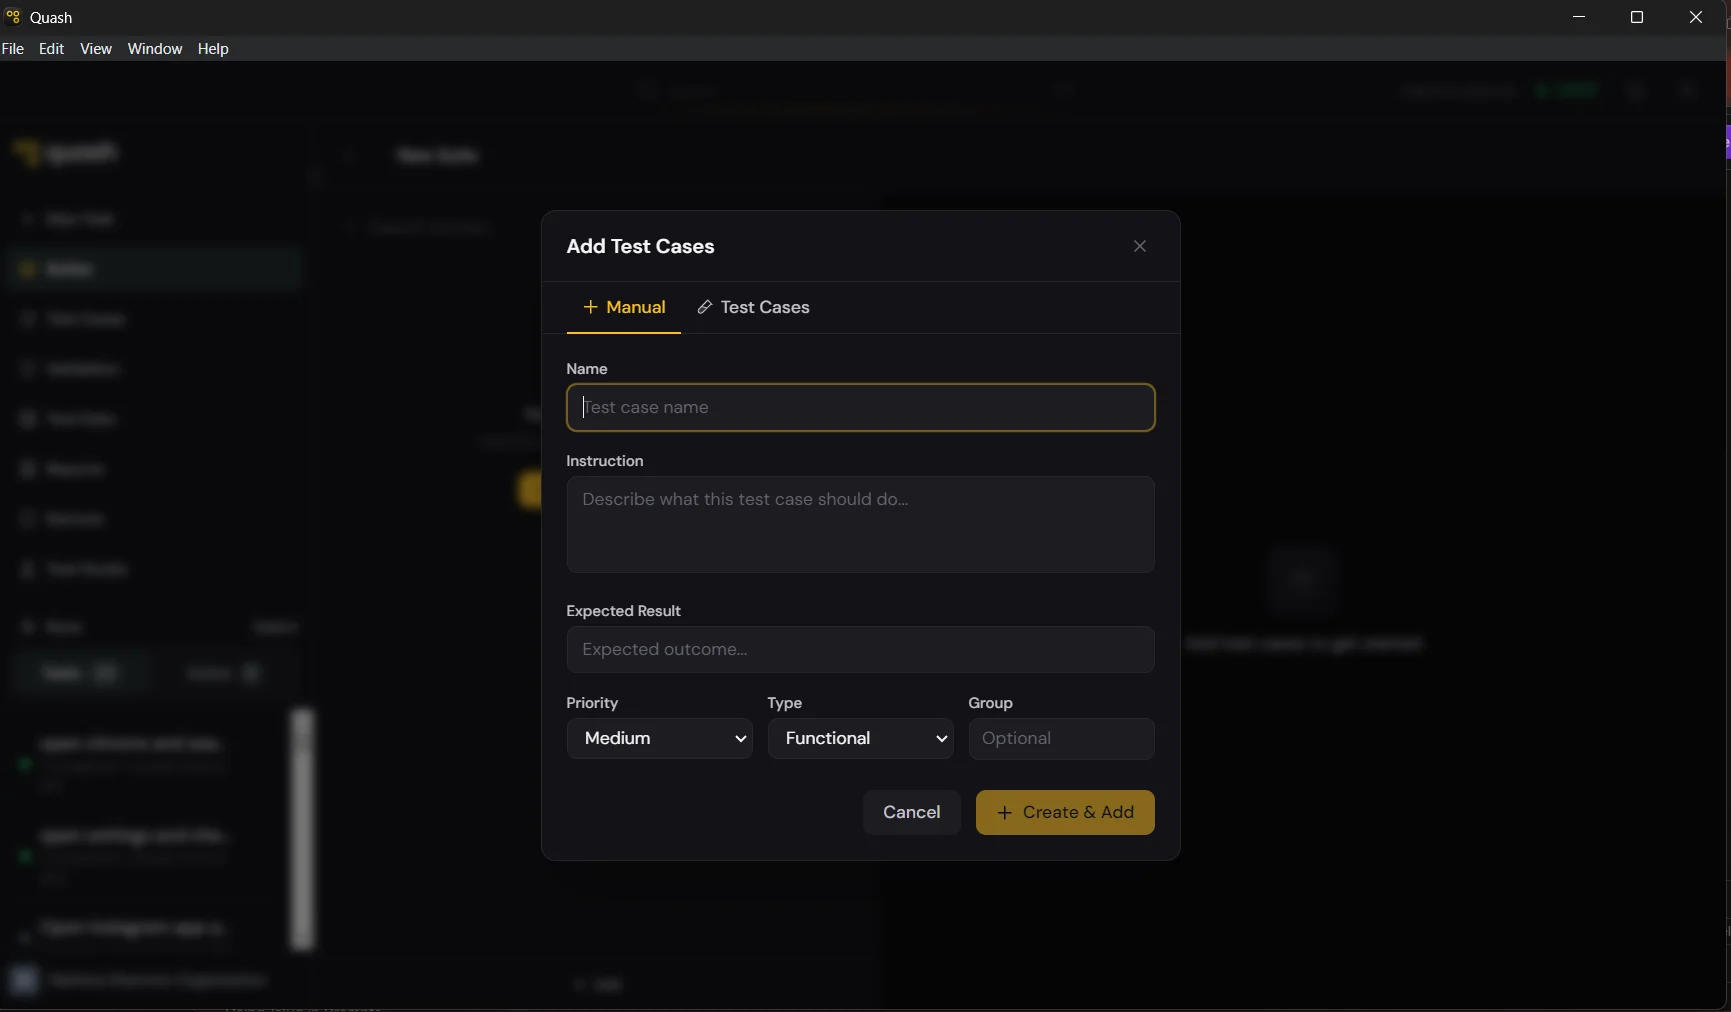
- Click the Manual tab.
- Fill in the name, instruction, expected result, priority, and type.
- Click + Create & Add.
Step 3 — Organise into groups (optional)
If your suite has more than six or seven cases, groups help with readability and navigation. Click + Add Group and give it a name. Drag test cases into the group, or assign them during the Add Test Cases flow. Groups are visual only — they do not affect execution order or mode.Step 4 — Set execution mode

Step 5 — Run the suite
- Click Run All.
- Select the device or devices to run on from the device picker.
- For Isolated suites, you can select multiple devices — Quash distributes cases across them automatically.
- For Sequential suites, select one device — cases must run in order on the same device.
- Click Confirm.