
Manual creation
- Click Test Cases in the left navigation panel.
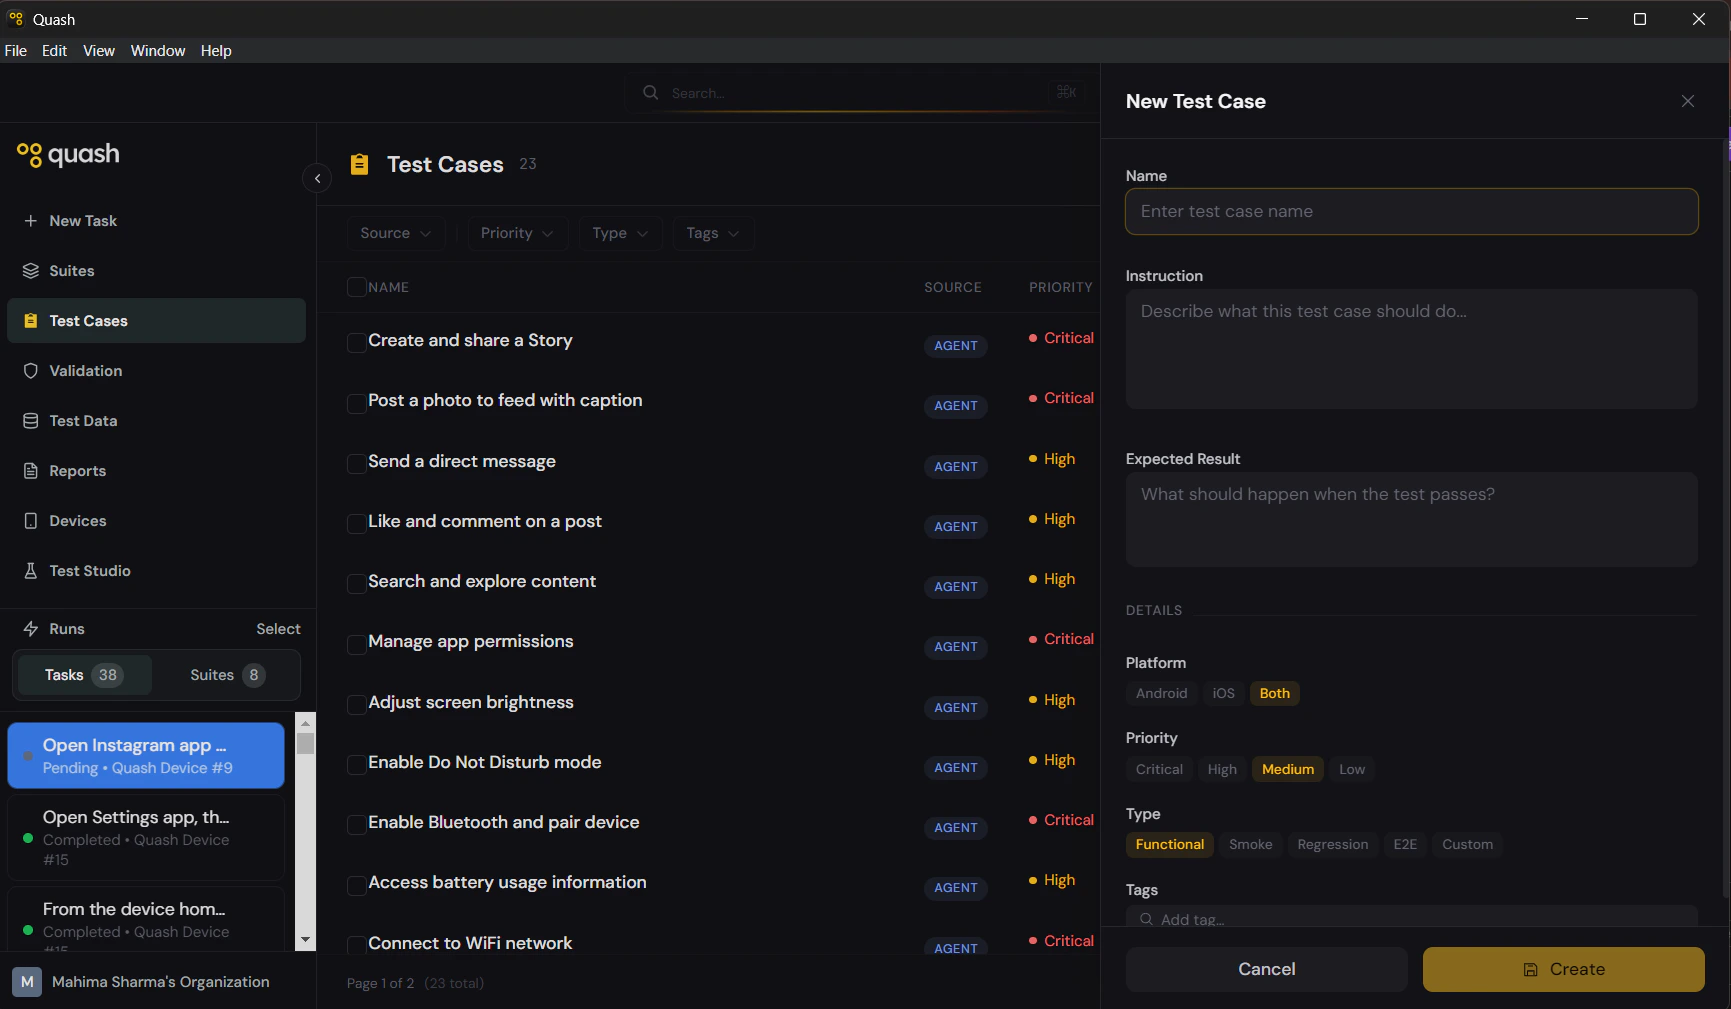
- Click + New Test Case in the top right. A panel slides in from the right with all fields empty.
- Fill in the fields (see below).
- Click Create.
Fields
Name
The title of the test case. It appears in the library list, in suite views, and in execution reports. A good name makes it obvious what the test covers without having to open it. Good: “Login with invalid password shows error message” Poor: “Login test” The name should describe what is being tested and what the expected outcome is — specific enough that anyone on the team understands it at a glance.Instruction
The prompt Mahoraga follows when this test case runs. Write it the same way you would write a task prompt — describe the steps in order, name UI elements explicitly, and be specific about what to tap, scroll, or navigate to. Good instruction:Expected Result
What the app should look like at the end of a successful run. This is your pass condition — the benchmark Mahoraga and anyone reviewing the report use to determine if the test passed. Be explicit about the end state: what should be visible on screen, what should have changed, what the app should have done. Good: “An error message reading ‘Invalid email address’ appears below the email field. The user remains on the login screen.” Poor: “Error message shows.”Details
Platform
Choose Android, iOS, or Both. Selecting Both means the instruction is written to work across platforms without needing separate versions. If the interaction differs significantly between platforms, create separate test cases.Priority
Type
Tags
Freeform labels for grouping and filtering. A test case can have as many tags as needed. Tags make it easy to build targeted suites and find related test cases quickly. Common tagging approaches:- By feature:
login,checkout,profile,search - By journey:
onboarding,purchase-flow - By test type:
happy-path,error-handling,edge-case - By release:
sprint-23,v2.1