
Supported formats
Quash supports two file formats for import: CSV A plain text file with a header row followed by data rows. The header row becomes the column names. Each subsequent row becomes one dataset row.How to import
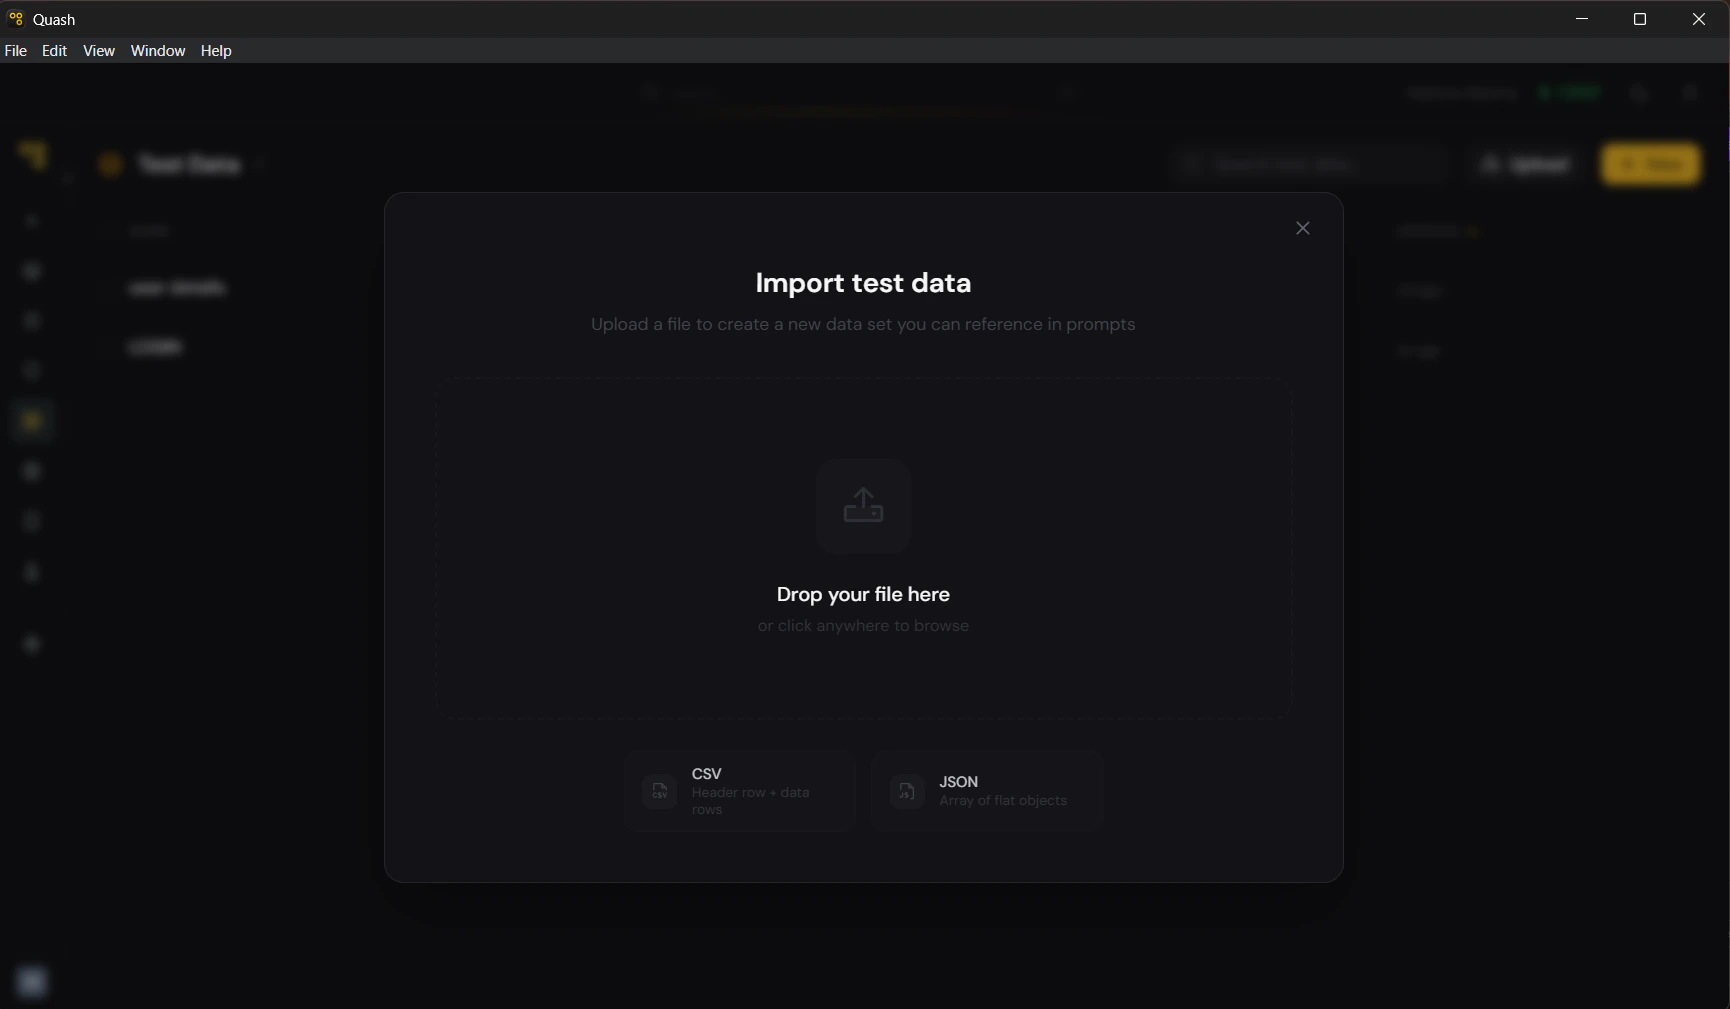
- Click Test Data in the left navigation panel.
- Click Upload in the top right of the library view (next to + New).
- Drag and drop your file into the upload modal, or click to browse and select it.
- Quash reads the file structure and creates the dataset automatically.
- The dataset opens in the editor. Check that column names and values are correct before saving.
- Edit the title and slug — the import uses the filename as the default title, which is usually not descriptive enough.
Before you import
A few things to check in your source file before importing: Header row is present and correct. CSV files must have a header row as the first line. JSON files must use consistent keys across all objects. Missing or inconsistent headers cause import errors or misaligned columns. No empty columns. Empty columns import as unnamed columns and clutter the dataset. Remove any blank columns from your source file before importing. Values are plain text. Quash stores text only. Formulas, rich formatting, merged cells, and special characters in Excel or Google Sheets do not transfer. Export to plain CSV first — not.xlsx.
File size is reasonable. Files with more than 200 rows will be truncated at import. Split large files into multiple datasets with descriptive slugs before importing.
Updating an existing dataset from a file
Importing always creates a new dataset — it does not update an existing one. If your source data changes and you need to refresh a dataset:- Import the updated file as a new dataset.
- Update the slug of the new dataset to match the old one (after deleting or renaming the old dataset).
- Or: open the existing dataset and manually update the changed values.