
Creating a connection
- Click Validations in the left navigation panel.
- Click the Connections tab.
- Click Create your first connection (or + New Connection if connections already exist).
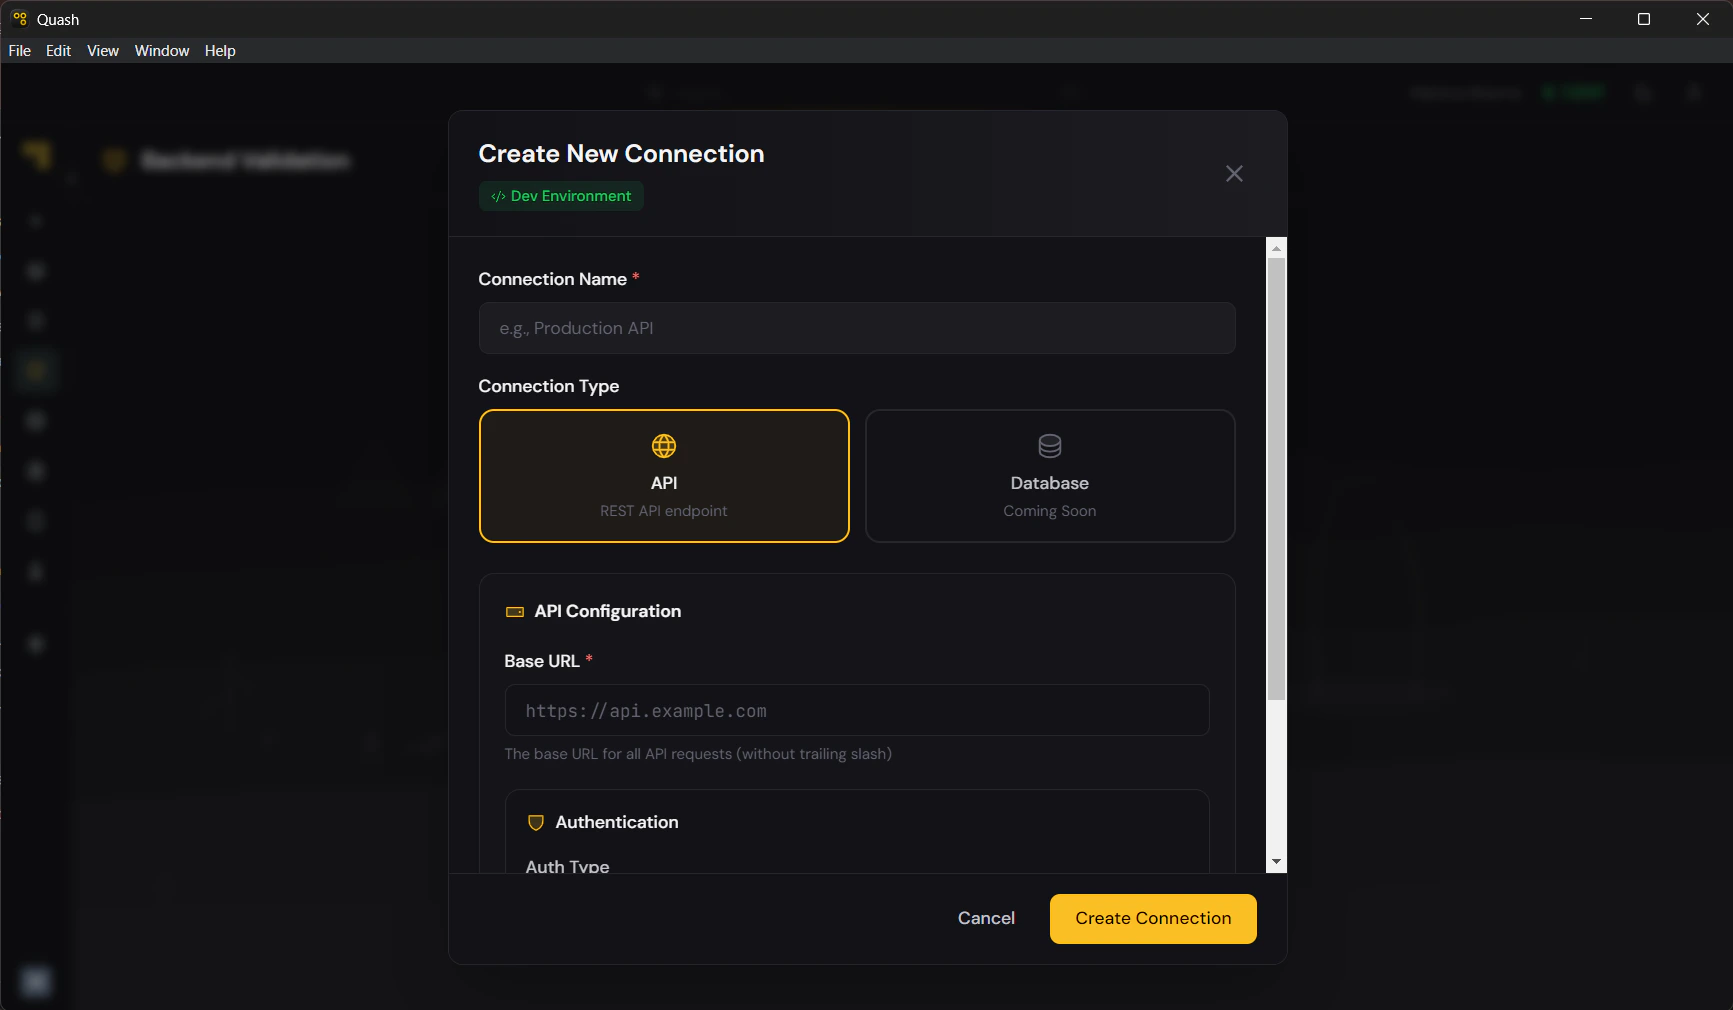
- Enter a Connection name. Be specific — include the environment: “Staging API”, “Production Read-Only”, “Auth Service — Dev”.
- The connection type defaults to API. Database support is coming.
- Enter your Base URL — the root URL of your API, without a trailing slash. For example:
https://api.yourapp.comorhttps://staging.yourapp.com/api/v2. - Select your Authentication type and complete the relevant fields (see below).
- Click Save.
Authentication types
Choose the authentication type that matches how your API handles access.No Auth
For public endpoints that require no authentication. No additional configuration needed. Use for health check endpoints, public product APIs, or any endpoint that returns data without requiring credentials.Bearer Token
Sends anAuthorization: Bearer <token> header with every request. Enter your token in the token field.
API Key
Sends a custom header with a key name and value. Enter the header name (e.g.,X-API-Key) and the key value.
Custom Header
Add any custom header or combination of headers. Enter header name and value pairs. Add multiple headers as needed. Use when your API requires non-standard authentication — multiple custom headers, session tokens, or proprietary auth schemes.Testing a connection
After saving, click Test Connection to verify Quash can reach your backend with the configured settings. A successful test confirms the base URL is reachable and the authentication headers are accepted. If the test fails:- Confirm the base URL is correct and includes the protocol (
https://) - Check that the API is accessible from outside your internal network — some staging environments require VPN or IP whitelisting
- Verify the authentication credentials are current — tokens expire, API keys get rotated
- Check for trailing slashes or path prefixes that should not be in the base URL