
Android Device not appearing after “Scan for devices”
The most common setup issue. Work through these in order. 1. Confirm USB Debugging is enabled. On your Android device: Settings → Developer Options → USB Debugging → ON. If Developer Options is not visible, tap Build Number seven times in Settings → About Phone. 2. Check the USB cable and port. Disconnect and reconnect. Try a different cable — charging-only cables do not carry data. Try a different USB port on your computer. 3. Dismiss and re-accept the debugging dialog. When you connect via USB, Android shows an “Allow USB debugging?” dialog on the device. If you dismissed it or tapped “Deny,” it won’t reappear until you disconnect and reconnect. Reconnect and tap Allow — check “Always allow from this computer” to avoid repeating this step. 4. Restart the Quash app and scan again. Occasionally the ADB connection needs a fresh scan. Quit Quash fully, reopen it, and scan again. 5. Verify ADB can see the device. On Mac, open Terminal and runadb devices. On Windows, open Command Prompt and run adb devices. If your device appears there but not in Quash, go to Settings → Advanced → ADB Path in Quash and verify the path is pointing to the correct ADB installation.
6. For wireless debugging. Make sure both your computer and device are on the same Wi-Fi network. On the device, go to Settings → Developer Options → Wireless Debugging → ON. Tap Pair device with pairing code and use the code shown to connect in Quash.
iPhone not appearing after Scan for Devices
- Confirm the device is trusted — on the iPhone, tap Trust This Computer when the prompt appears. If you dismissed it, disconnect and reconnect the USB cable.
- Confirm Xcode recognises the device. Open Window → Devices and Simulators in Xcode — if the device does not appear there, Quash will not find it either. Reconnect the cable and reopen Xcode.
- Make sure you are on a Mac. iOS device connection is not supported on Windows.
WDA install error
If you see a WDA install error, run the following command in your terminal:(ID) with your team ID. You can find this in the top right corner of the sign-in page at developer.apple.com.
Once the command runs successfully, the WDA agent will appear on your iPhone and the error will be resolved.
Certificate error
- Confirm prerequisite steps 1 and 2 have been completed — iOS component installed in Xcode and Apple Developer account signed in with the correct team access.
- If your account is shared, confirm you have been granted full development access or Admin access by your team account holder.
Command line errors
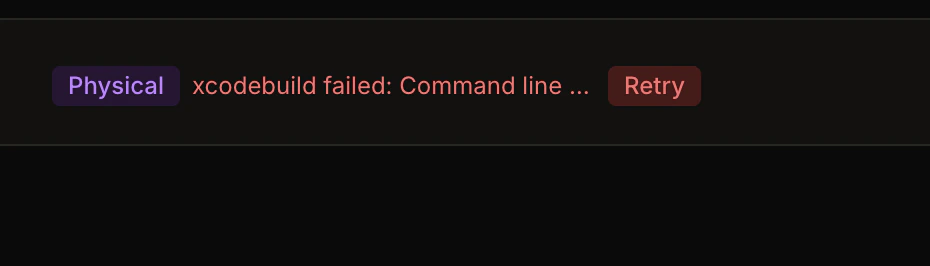
If errors persist after troubleshooting: Once you have completed the prerequisite steps, delete the device from the Devices section in Quash, disconnect the USB cable, and click Scan for Devices again. This forces a clean reconnection and prevents the same error from recurring.
Mahoraga accessibility won’t enable
Emulators and cloud devices come pre-configured — this step is only required for physical Android devices. 1. Open Mahoraga and navigate to Accessibility Service. Tap Accessibility Service in the Mahoraga app. This should redirect you to Settings → Accessibility on your device. 2. Find Mahoraga in the list and toggle it ON. Scroll down the Accessibility services list to find Mahoraga. Toggle it to ON. Read and accept the permission warning. 3. Verify it worked. Return to the Mahoraga app. A green checkmark should appear next to Accessibility Service. If not, it did not save — try again. If the toggle won’t stay ON:- Restart the device completely and try again
- Go to Settings → Apps → Mahoraga → Storage → Clear Cache, then retry
- Uninstall Mahoraga (disconnect the device from Quash, then reconnect — Quash reinstalls it automatically), then redo the accessibility setup
- Some manufacturer launchers (particularly MIUI on Xiaomi devices) block accessibility services — temporarily switch to the default Android launcher and retry
Bounding boxes are misaligned
Bounding boxes should appear centered on the UI elements they surround. If they are offset — slightly above, below, or to the side of the actual elements — Mahoraga will tap in the wrong location. 1. Open the Mahoraga app and toggle Overlay to ON. Yellow bounding boxes appear around detected UI elements. Assess whether they align with the actual buttons, fields, and text on screen. 2. Use the X/Y offset sliders to adjust.- X offset moves boxes left or right
- Y offset moves boxes up or down
- Start with small adjustments — ±5 pixels — and check alignment after each change
- Calibrate on the screens your tests interact with most
After a device software update, always re-check bounding box alignment. OS updates frequently shift the coordinate system, especially on devices with display notches or navigation bar changes.If boxes are misaligned on some screens but not others: Different screen densities or scroll positions can affect alignment. Calibrate on the screen type your most important tests use. If you test across many different screen layouts, emulators generally offer more consistent detection than physical devices.
Cloud device not connecting or placed in queue
Device shows as busy / in queue: Quash cloud devices are shared. If all devices are in use when you try to connect, you are placed in a queue. You will receive a notification when a device becomes available. Wait for the notification rather than repeatedly trying to connect. Device auto-disconnected: Cloud devices disconnect automatically after 5 minutes of inactivity. This is by design. Reconnect from Apps → Devices, or click Connect under Quash Cloud Device in the profile menu. Screen mirroring not working: Click the monitor icon next to the connected cloud device to enable screen mirroring. If the mirror does not load, disconnect and reconnect the device, then enable mirroring again.Emulator not detected
1. Confirm the emulator is running. Quash only detects emulators that are already running. Open Android Studio, go to the AVD Manager, and start your emulator before scanning for devices in Quash. 2. Scan for devices after the emulator has fully booted. If you scan before the emulator has finished booting, it may not appear. Wait for the emulator’s home screen to be visible before scanning. 3. Check that USB Debugging is enabled on the emulator. Even on emulators: Settings → Developer Options → USB Debugging → ON. 4. Restart the emulator. If the emulator has been running for a long time without a restart, it can accumulate state that interferes with detection. Close it fully, reopen it from the AVD Manager, and scan again.iOS simulator not detected (Mac only)
- Confirm the simulator is open and fully launched in Xcode → Open Developer Tool → Simulator.
- In Quash, click Scan for devices. The simulator should appear within a few seconds.
- If it does not appear, quit and relaunch the simulator, then scan again.
iOS simulators are available on Mac only. Physical iOS devices are not supported. If you are on Windows, iOS testing is not possible.
Tests failing to install the app on iPhone
The most common cause is a provisioning profile that does not include this device’s UDID.- Go to your Apple Developer account and confirm the iPhone’s UDID is listed under Certificates, Identifiers & Profiles → Devices.
- Open the provisioning profile, confirm this device is checked, regenerate and download the updated profile.
- Rebuild your app with the updated profile and re-upload the
.ipato Quash.