Appium Inspector: How to Inspect App Elements (2026)

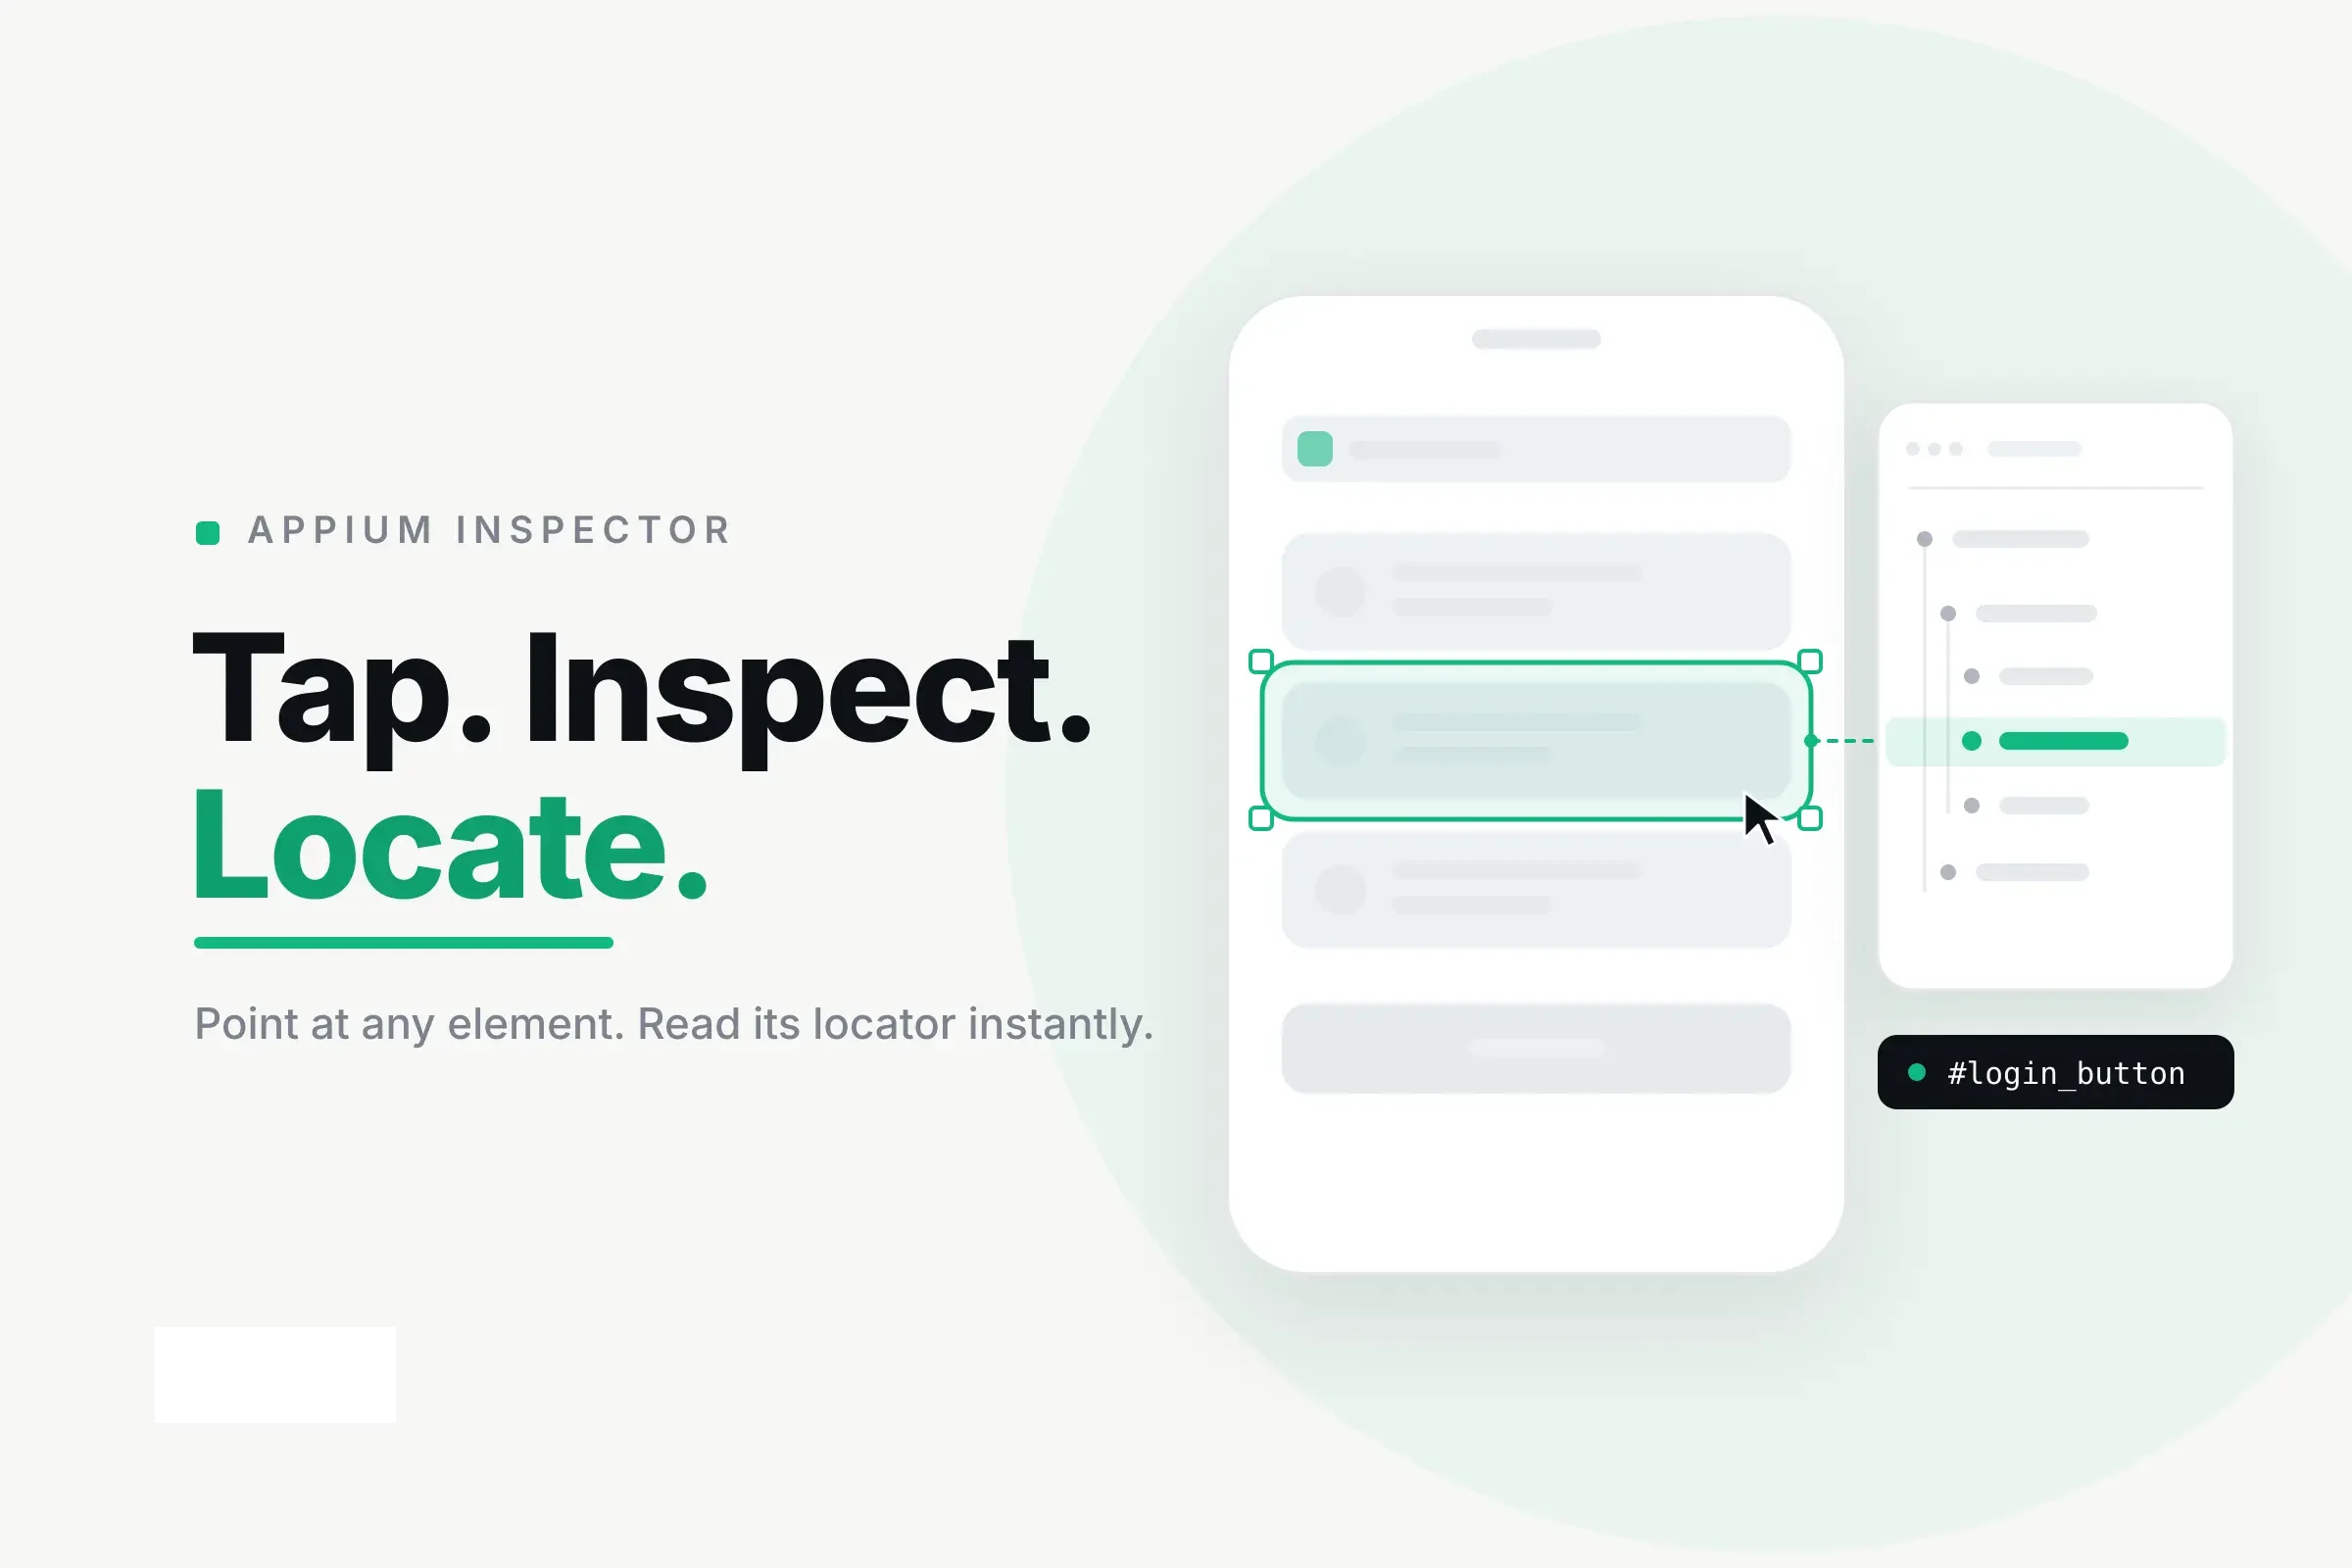
Appium Inspector is a free, open-source GUI tool that connects to a running Appium server and lets you inspect a mobile app’s UI hierarchy, select an element, and copy a locator such as an accessibility ID, resource ID, class name, or XPath.
In that workflow, Appium Inspector helps connect the visible UI state to the request that failed.
For QA engineers comparing locator-discovery workflows, the complete guide to inspecting Android app elements maps the practical options beyond Inspector.
To use it, install the Appium server and the appropriate driver, launch Appium Inspector, enter the capabilities for your device and application, and start a session. You can then interact with a mirrored version of the app, inspect element attributes, test locators, and record Appium commands.
The latest release at the time of writing is Appium Inspector 2026.7.1, released on 27 July 2026.
This Appium Inspector tutorial covers installation, session capabilities, element inspection, locator selection, and the most common setup errors.
Key takeaways
Appium Inspector is available as a desktop application or an Appium server plugin.
The old Appium Desktop application is retired and is not the same as the current Inspector.
You need a running Appium server and the correct Android or iOS driver before starting a session.
Accessibility IDs and stable resource IDs are usually better than hierarchy-dependent XPath locators.
AI-based testing systems can reduce locator maintenance, but they do not remove every need for inspection and debugging.

Get the Mobile Testing Playbook Used by 800+ QA Teams
Discover 50+ battle-tested strategies to catch critical bugs before production and ship 5-star apps faster.
What is Appium Inspector?
Appium Inspector is a graphical tool for viewing and interacting with the page source of an application under test.
According to the official Appium Inspector overview, the tool is an Appium client based on WebdriverIO, presented through a graphical interface. It is primarily used during test automation development, although it can also help developers understand how an application exposes its interface to automation tools.
For a protocol-specific validation workflow, test your MCP server using the MCP Inspector before connecting it to an agent.
When you select an element in the mirrored application screen, Appium Inspector can display information such as:
The Appium Inspector guide shows how inspecting the native hierarchy can make locator debugging more systematic.
Accessibility ID
Resource ID
Class or element type
Text, name, label, or value
Bounds and coordinates
Enabled, selected, or clickable state
XPath
Other platform-specific attributes
You can use these attributes to identify a suitable locator and add it to an Appium test.
Appium Inspector is not the same as the old Appium Desktop application. Appium Desktop bundled an Appium server and an inspection interface into one application. The current Inspector is maintained separately and connects to an independently running Appium server.
Appium Inspector is distributed in two formats:
A standalone desktop application for Windows, macOS, and Linux
An Appium server plugin that opens in a browser
The former hosted web application at inspector.appiumpro.com is no longer controlled or maintained by the Appium team. Use the standalone application or the server plugin instead.
How do you install and set up Appium Inspector?
Before installing Appium Inspector, make sure the underlying Appium environment for your platform is working.
Prerequisites
For both Android and iOS, you need:
Node.js and npm
Appium 2 or Appium 3
A compatible Appium driver
An emulator, simulator, or physical device
An installed application or an application build
The platform-specific development environment required by the driver
Installing an Appium driver does not install the complete Android or iOS toolchain.
For Android testing with UiAutomator2, you also need a working Java JDK, Android SDK, platform tools, and ADB configuration.
For iOS testing with XCUITest, you need macOS, Xcode, Xcode command-line tools, and additional signing and provisioning for physical devices.
The Appium Inspector requirements page recommends checking each driver’s documentation for its exact setup requirements.
Install Appium globally through npm:
npm install -g appium
Confirm the installation:
appium --version
Install UiAutomator2 for Android:
appium driver install uiautomator2
Install XCUITest for iOS:
appium driver install xcuitest
View the installed drivers:
appium driver list --installed
For a fuller explanation of servers, drivers, capabilities, and Appium’s architecture, read our complete Appium mobile testing guide.
Format 1: Install the Appium Inspector desktop application
The standalone application is usually the simplest option for local inspection.
Windows
Download the .exe installer from the Appium Inspector GitHub releases.
You can also install the application through Windows Package Manager:
winget install AppiumDevelopers.AppiumInspector
The WinGet package is community-supported rather than maintained directly by the Appium team.
macOS
Download the .dmg installer, open it, and move Appium Inspector into the Applications folder.
The application is not currently notarised. If macOS blocks it from opening, run:
xattr -cr "/Applications/Appium Inspector.app"
You can then open the application again.
The Homebrew installation method is deprecated and is scheduled to be disabled on 1 September 2026. The direct .dmg installation is the safer option for new setups.
Linux
Download the .AppImage file and make it executable:
chmod a+x Appium-Inspector-<version>-linux-<arch>.AppImage
Launch it from the terminal:
./Appium-Inspector-<version>-linux-<arch>.AppImage
The exact filename depends on the version and system architecture.
Format 2: Run Appium Inspector as an Appium server plugin
For Appium 3, install the Inspector plugin:
appium plugin install inspector
Start the Appium server with the plugin enabled:
appium --use-plugins=inspector
Open the following URL in your browser:
http://127.0.0.1:4723/inspector
The server’s base-path configuration does not change the plugin URL. The Inspector plugin always uses /inspector.
For Appium 2, install the last compatible plugin version:
appium plugin install --source=npm appium-inspector-plugin@2025.7.3
These commands and current platform-specific installation instructions are documented in the official Appium Inspector installation guide.
How to use Appium Inspector to inspect mobile app elements
Once the Appium server, driver, device, and application are ready, you can start an inspection session.
1. Connect or start your device
For Android, confirm that the device or emulator is visible through ADB:
adb devices
A connected device should appear with a status similar to:
emulator-5554 device
For iOS, start the required simulator or connect a physical device. Physical iOS devices must also be prepared for XCUITest and WebDriverAgent.
2. Start the Appium server
Run:
appium
A standard local Appium server usually listens at:
http://127.0.0.1:4723
Keep the terminal visible. The server logs are usually more useful than the Inspector interface when a session fails.
3. Open Appium Inspector
Launch the desktop application or open the Inspector plugin in your browser.
For a default local server, use:
Remote Host: 127.0.0.1 Remote Port: 4723
4. Add your Appium capabilities
Capabilities tell Appium which platform, driver, device, and application it should automate.
Android capabilities with UiAutomator2
Use the following structure for a specific Android device:
{"platformName": "Android","appium:automationName": "UiAutomator2","appium:udid": "<device-serial-from-adb-devices>","appium:appPackage": "com.example.app","appium:appActivity": ".MainActivity"}
Replace the placeholders with the actual device serial, package name, and launch activity.
Use appium:udid when you need to select a specific connected device. Do not rely on appium:deviceName to distinguish reliably between multiple Android devices.
For a named emulator, use appium:avd instead:
{"platformName": "Android","appium:automationName": "UiAutomator2","appium:avd": "Pixel_7_API_34","appium:appPackage": "com.example.app","appium:appActivity": ".MainActivity"}
To install and launch an APK rather than open an existing application, replace the package and activity capabilities with:
"appium:app": "/absolute/path/to/application.apk"
iOS capabilities with XCUITest
Use the following structure for an iOS device or simulator:
{"platformName": "iOS","appium:automationName": "XCUITest","appium:udid": "<device-udid>","appium:platformVersion": "<installed-iOS-version>","appium:bundleId": "com.example.app"}
Use the actual operating-system version installed on the target device. Do not copy a hardcoded version from an example without checking the device.
For physical iOS devices, additional WebDriverAgent signing and provisioning capabilities may be required.
5. Start the session
Select Start Session.
Appium Inspector sends the capabilities to the server. The server then uses the selected driver to create an automation session.
When the session starts successfully, the interface displays:
A screenshot of the current application screen
The application page-source hierarchy
Attributes for the selected element
Suggested locator strategies
Interaction, command, gesture, and recording controls
6. Select an element
Click an element in the mirrored screenshot.
Appium Inspector highlights the related node in the source hierarchy and displays its attributes. You can also select an element directly from the hierarchy and locate it in the screenshot.
Common attributes include:
resource-id content-desc class text name label value enabled selected clickable bounds
The exact attribute names depend on the platform and driver.
7. Review the Appium element locator suggestions
Appium Inspector may suggest locators such as:
Accessibility ID
ID or resource ID
Class name
XPath
Do not automatically select the first suggestion.
A useful locator should be:
Unique on the current screen
Stable between application versions
Easy to understand in test code
Independent of unnecessary hierarchy details
Based on a deliberately assigned application attribute where possible
Test the locator inside Inspector before adding it to your automation code.
8. Refresh the page source when the screen changes
After opening a modal, navigating to another page, or loading dynamic content, refresh the screenshot and page source.
The hierarchy displayed in Inspector is a snapshot. It does not always update automatically after every application change.
9. Record actions into test code
Appium Inspector can record supported actions into client code for five or more programming languages.
This is helpful when:
Learning Appium client syntax
Testing a locator
Building a short proof of concept
Reproducing an interaction sequence
Creating the first draft of a test
Recorded code is still a starting point. Production tests generally need explicit waits, assertions, reusable components, error handling, test data, and more deliberate locator choices.
Which Appium locator strategy should you use?
The best locator is normally the most stable unique attribute exposed by the application, not the longest selector generated by the Inspector.
A practical priority order is:
Accessibility ID
ID or resource ID
Native platform-specific locator
Class name for limited use cases
XPath when no better option exists
Appium locator strategy comparison
Locator strategy | Platform | Performance and stability | Best use |
Accessibility ID | Android and iOS | Fast and usually stable when deliberately assigned | Primary locator for interactive elements |
ID or resource ID | Mainly Android native apps | Fast, readable, and usually stable | Elements with a unique resource ID |
Name or ID | iOS | Rated 5/5 for speed and mapped to the element’s
attribute | Elements with a stable name |
Class name | Android and iOS | Fast but frequently non-unique | Counting or filtering elements by type |
| Android with UiAutomator2 | Fast and flexible native querying | Android-specific attribute, text, and scrolling queries |
| iOS with XCUITest | Rated 5/5 for speed | Combining multiple element attributes |
| iOS with XCUITest | Rated 4/5 for speed | Searches involving parents or descendants |
XPath | Android and iOS | Slower and more dependent on hierarchy | Sibling or descendant relationships when native attributes are insufficient |
The Java examples below use the Appium Java client.
Accessibility ID
An accessibility ID finds an element through an accessibility-related attribute exposed by the application.
On Android, it generally maps to content-desc. In XCUITest, the accessibility id strategy is an alias for the element’s name strategy.
driver.findElement(AppiumBy.accessibilityId("Continue"));
Accessibility IDs can create readable and stable test hooks when they are assigned deliberately.
Their relationship with user-facing accessibility differs by platform. The presence of an accessibility locator should not be treated as proof that the application meets accessibility requirements.
ID or resource ID
On Android, the id strategy usually targets an element’s resource-id.
driver.findElement(AppiumBy.id("com.example.app:id/login_button"));
A stable resource ID is normally preferable to XPath because it does not depend on the element’s exact position in the UI hierarchy.
In Appium Inspector, select the element and look for its resource-id. Verify that the value is unique and remains consistent between builds.
Android UiAutomator
The -android uiautomator strategy uses Android-native UiSelector queries.
driver.findElement(AppiumBy.androidUIAutomator("new UiSelector().text(\"Sign in\")"));
It is useful for:
Text matching
Class matching
Description matching
Scrollable container queries
Combining Android-specific conditions
-android datamatcher and -android viewtag are Espresso driver strategies. They are not UiAutomator2 locators.
iOS predicate string
An iOS predicate string searches XCUITest attributes directly.
driver.findElement(AppiumBy.iOSNsPredicateString("label == 'Continue' AND enabled == true"));
Use predicate strings when an element can be identified through one or more of its own attributes without depending on surrounding hierarchy.
iOS class chain
Class chain queries combine native attribute matching with the iOS element hierarchy.
driver.findElement(AppiumBy.iOSClassChain("**/XCUIElementTypeButton[`label == 'Continue'`]"));
Use class chain when parent or descendant relationships matter and a predicate string alone is insufficient.
XPath
XPath locates elements through a generated XML representation of the application hierarchy.
driver.findElement(AppiumBy.xpath("//android.widget.Button[@text='Continue']"));
XPath is useful when:
No stable ID or accessibility attribute exists
A relationship with a sibling or descendant is required
The application exposes limited native attributes
You are temporarily debugging a difficult screen
The current Appium XCUITest locator documentation ranks XPath at 2/5 for speed. It also notes that XPath can sometimes be up to 10 times slower than native strategies because XCUITest must generate and query an XML hierarchy.
That does not mean every XPath lookup will be exactly 10 times slower. The practical point is that XPath introduces additional work and is more sensitive to hierarchy changes. Use it when necessary, not by default.
Common Appium Inspector errors and how to fix them
The Appium server logs should be the first place you look when an inspection session fails. They usually contain more detail than the message shown inside Inspector.
Could not start session
Common causes include:
The Appium server is not running
The required driver is not installed
appium:automationNameis incorrectThe device cannot be found
The application path, package, activity, or bundle ID is wrong
One or more capabilities are incompatible
The Inspector is connected to the wrong server address
Check your installed drivers:
appium driver list --installed
For Android, confirm the device is visible:
adb devices
Then compare the Inspector host and port with the address shown in the Appium server output.
Connection refused
A connection-refused error means Inspector cannot reach the Appium server.
Check that:
The Appium process is still running
Port
4723is availableThe correct server host is being used
A remote or containerised server is exposing its port
A firewall or network rule is not blocking the connection
For a standard local setup, use:
http://127.0.0.1:4723
Blank screen or missing elements
A session can start even when the screenshot or page source does not load as expected.
Try:
Refreshing the screenshot and source
Confirming that the application is in the foreground
Waiting for loading animations to finish
Reviewing the Appium server logs
Checking whether the application is in a native or WebView context
Elements may also be missing when the UI is rendered through:
A WebView
A canvas
A game engine
A custom rendering layer
Certain Flutter or React Native components
A control that is not exposed correctly to the accessibility hierarchy
For a WebView, switch to the relevant application context before searching for web elements.
For custom-rendered screens, you may need image matching, coordinates, framework-specific support, or changes to how the application exposes the element.
The locator appears correct but does not work
The locator may be:
Matching multiple elements
Generated dynamically
Different across builds or environments
Pointing to a hidden duplicate
Dependent on an unstable parent hierarchy
Using text that changes by language
Test the locator in Inspector and check how many elements it matches.
When possible, ask the development team to add a stable identifier instead of building a more complex XPath.
iOS or WebDriverAgent setup failure
Appium uses XCUITest and WebDriverAgent to automate iOS applications.
Common causes of failure include:
An incompatible Xcode or driver version
WebDriverAgent signing errors
Missing provisioning
An untrusted development certificate
An incorrect device UDID
Developer Mode not being enabled
The physical device not trusting the Mac
Review the Appium server output for the underlying Xcode or signing error. The generic message in Inspector rarely contains enough detail to fix an iOS setup problem.
Stale element after the UI changes
A stale element error occurs when the application hierarchy changes after Appium has already found the element.
Locate the element again after:
Navigation
Modal changes
List updates
Page refreshes
Application reloads
Animations or asynchronous transitions
Avoid storing element references longer than necessary, and use explicit waits for the state you actually expect.
Why maintenance becomes expensive at scale
In a 2017 analysis of approximately 4.2 million internal tests, Google found that around 63,000 had a flaky run during a typical week. Large tests had a 14% flakiness rate, while Android-emulator tests had a 25.46% rate.
Google also cautioned that these findings showed correlation, not proof that test size or Android emulators caused every failure.
The broader lesson remains useful. Large end-to-end mobile suites are difficult to keep stable. Locator changes are one part of that challenge, alongside application state, device differences, network dependencies, asynchronous behaviour, animations, and test data.
When AI-based element selection can reduce manual inspection
Appium Inspector is valuable when an engineer needs to understand the application hierarchy, validate a locator, debug an element, or build a custom Appium framework.
The repeated maintenance loop begins when the interface changes. A resource ID disappears, an XPath no longer matches, or a flow is reorganised. Someone then has to inspect the screen again, change the test, and rerun it.
AI-based testing systems try to reduce this work by using broader context, such as element meaning, nearby text, hierarchy, screen state, and previous successful behaviour.
This reduces some manual locator work, but it does not remove inspection completely. Teams may still need Inspector for accessibility checks, debugging, unusual rendering, ambiguous matches, and application-specific failures.
Appium Inspector and Quash are therefore different tool classes:
Appium Inspector helps engineers inspect and debug application elements and locators. Quash is designed to generate, execute, and maintain complete test flows with less manual scripting.
Appium Inspector vs Quash
Area | Appium Inspector | Quash |
Main purpose | Inspect UI hierarchies and debug locators | Generate, execute, and maintain test flows |
Test creation | Engineers write and organise the automation code | Natural-language or prompt-based test creation |
Maintenance | Engineers update selectors and scripts | According to Quash, affected steps are rewritten when supported flows change |
Device access | Depends on local devices, emulators, or a connected provider | According to Quash, access to 200+ devices through device-cloud integrations |
Cost | Free and open-source | Commercial platform |
Best suited to | Appium learning, framework development, and locator debugging | Teams reducing manual test creation and maintenance |
Choose Appium Inspector when you need direct access to the page source, complete control over test code, or a free tool for inspecting and debugging elements.
Choose Quash when the repeated inspect, script, repair, and rerun cycle is slowing the team, and you want to create and maintain broader tests through natural-language flows.
You can also review other Appium alternatives if you are comparing automation approaches.
Frequently asked questions
What is Appium Inspector used for?
Appium Inspector is used to view an application’s UI hierarchy, inspect element attributes, test locator strategies, interact with the application, and record Appium commands. It helps engineers find accessibility IDs, resource IDs, class names, XPath expressions, and platform-specific attributes before using them in automated tests.
How do I connect Appium Inspector to the Appium server?
Start the Appium server, open Appium Inspector, and enter the server host and port. For a standard local setup, use 127.0.0.1 and port 4723. Add valid capabilities for the platform, driver, device, and application, then select Start Session.
How do I find a resource ID or write XPath in Appium Inspector?
Start a session and select the element in the mirrored screenshot or source hierarchy. The attributes panel displays the Android resource-id when one exists. Inspector may also suggest an XPath. Prefer a stable resource ID or accessibility ID before relying on XPath.
Why does Appium Inspector show a blank screen or no elements?
The source may be stale, the app may be using a WebView, or the interface may be custom-rendered and absent from the native hierarchy. Refresh the source, verify the current context, review the Appium logs, and confirm that the application is in the foreground and responsive.
Can Appium Inspector inspect a real device and an iOS app?
Yes. Appium Inspector can connect to Android and iOS physical devices through an Appium server. Android devices must be visible through ADB. Physical iOS devices require a working XCUITest and WebDriverAgent setup, including appropriate signing, provisioning, trust, and Developer Mode settings.
Is Appium Inspector free?
Yes. Appium Inspector is free and open-source. It is available as a standalone desktop application and as an Appium server plugin. You may still pay for external infrastructure, cloud-device services, or the machines used to run your Appium environment.
Conclusion
Appium Inspector remains one of the most practical tools for understanding a mobile application’s UI hierarchy, validating locator strategies, and debugging Appium automation.
Prefer deliberate accessibility IDs and stable resource IDs, use native platform selectors when more control is required, and keep XPath as a fallback rather than the default.
The limitation is not inspection itself. It is the repeated cycle of inspecting, changing, and repairing tests as the application evolves. When that loop starts consuming a meaningful part of the sprint, explore AI test generation with Quash to reduce the amount of manual scripting and locator maintenance the team has to manage.
Continue reading
More articles from the Quash editorial desk.